Hey everyone, it’s Dani! Today, we’re focusing on how to create perfect swirls—whether for desserts, butter, or any other dish that needs a beautiful swirl effect. Let’s jump into the best tips to achieve flawless swirls in your food photography!
Tip 1: Start with a Smooth, Lump-Free Product
The key to perfect swirls starts with a completely smooth base:
- Make sure your product is lump-free before you start. Blend it more, whisk it harder, or even make a new batch if needed.
- Strain out any remaining lumps, as they can be nearly impossible to fix once you start assembling. Starting with a high-quality, smooth base will give you the cleanest and most visually appealing swirls.
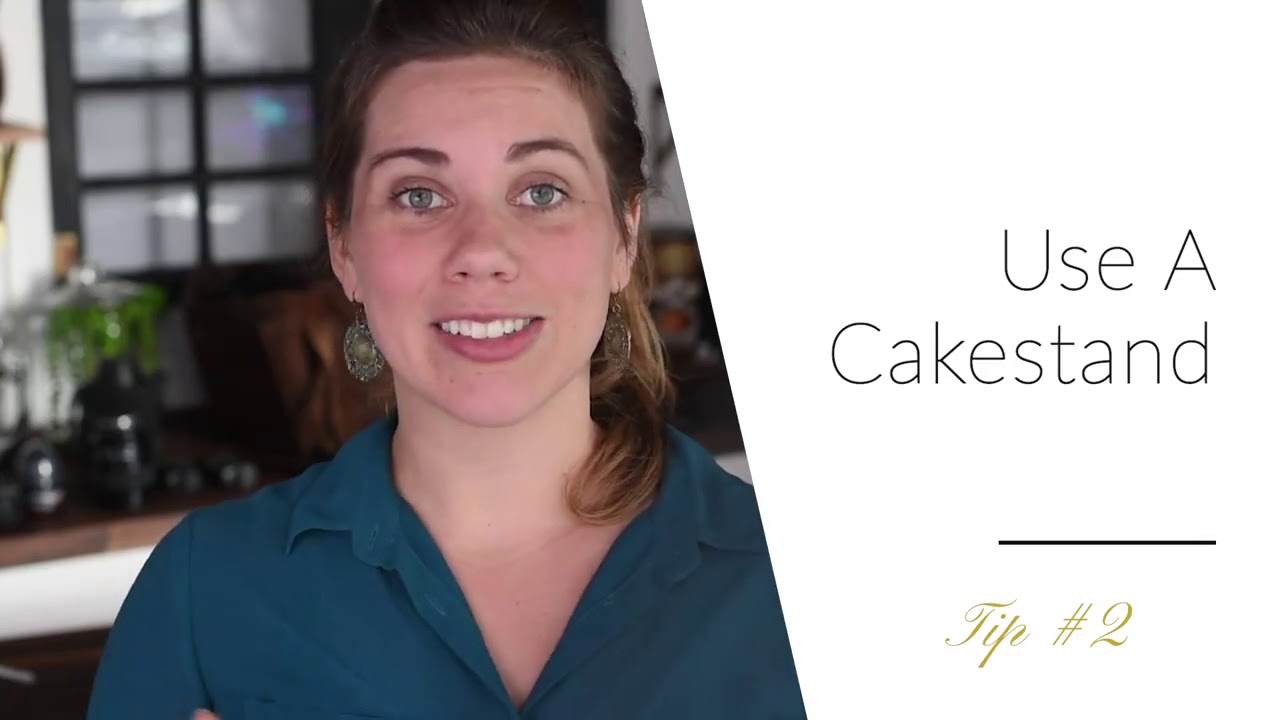
Tip 2: Use a Cake Stand for Stability
For better control and precision, use a cake stand while styling your swirls:
- A cake stand lets you rotate the dish smoothly, helping you build even layers without touching the product too much.
- If you don’t have a cake stand, you can still achieve great results, but using one can make the process much easier and more efficient. This tool helps you maintain clean lines and consistency, creating a professional look for your swirls.
Tip 3: Build One Layer at a Time
To create the most visually appealing swirls, build layer by layer:
- Avoid trying to swirl everything at once. Focus on building it from the base and work upwards, creating the swirl one layer at a time.
- Construct your swirls based on the camera’s angle to make them look perfect from your chosen viewpoint. Taking it slow and steady allows you to control the shape and flow of your swirls, achieving a polished, beautiful result.
Thanks for tuning in today! If these tips were helpful, leave a comment below and share this video with a friend who might need these styling tricks. Don’t forget to subscribe and click the link in the description for instant updates and access to one of our exclusive freebies.
See you next time—happy styling!